Using the Map Center, you can save maps you have configured with the ArcGIS Map Web Part to ArcGIS.com. Once a map is saved to ArcGIS.com, it can be shared with ArcGIS.com groups or with the public.
Supported layer types
Currently, ArcGIS.com maps can only include a subset of the layer types supported by the Map Web Part. The supported layer types are:
- ArcGIS Server Map Services (both cached and dynamic)
- ArcGIS Server Image Services
- ArcGIS Server Feature Services
If your map includes layers that are not of these types, you will receive a notification when saving your map to ArcGIS.com that these layers will not be saved with the map.
Saving a map
To save your map to ArcGIS.com, do the following:
-
Open and sign into the Map Center. For instructions, see Signing in to ArcGIS.com.
-
Click the Save button in the Map Center:

-
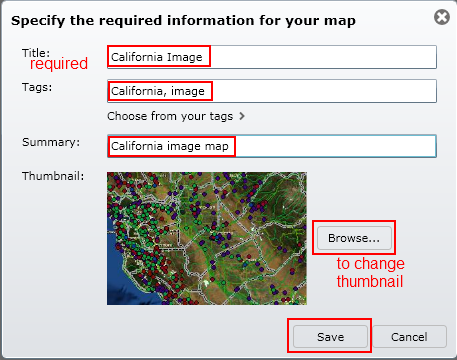
A dialog will appear for specifying information about the map document. Enter the map's title, tags (comma delimited) and summary (brief description). Click the Save button to save this map as one of your ArcGIS.com maps.

-
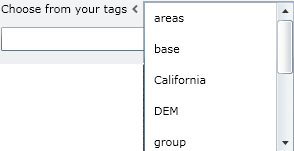
You can also use the Choose from your tags drop down menu in the dialog to select from the tags you have previously used:

-
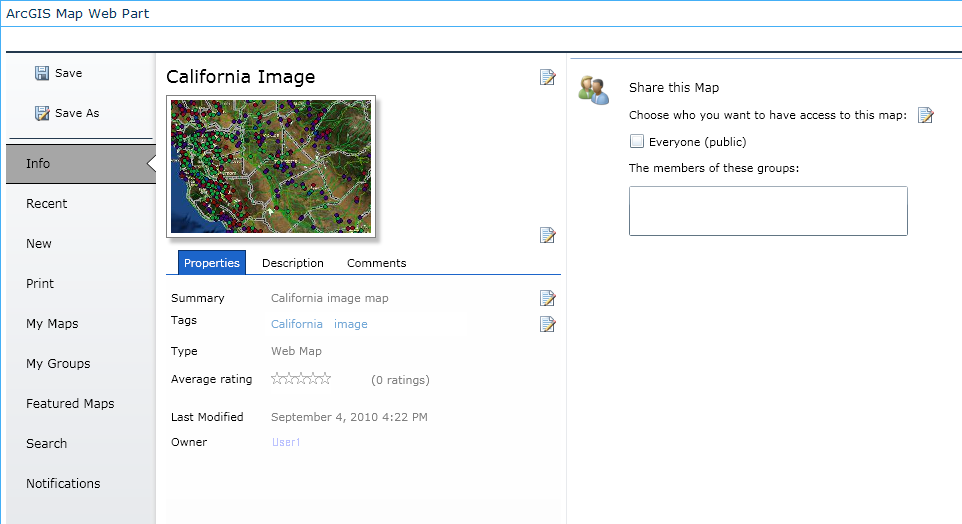
The Map Center's Info tab now displays the saved map's information for you to customize:

At this point, the map is only available to its creator and has only default settings. Using the Info page, you can:
- Add a map description. See Describing a map.
- Add comments to the map. See Rating and commenting on a map.
- Share the map. See Sharing a map.
Creating and using maps
The Map Center
Working with Web Maps
Saving a copy of a map


