


Symbol Galleries define the sets of symbols available for you to apply to layers. ArcGIS Mapping for SharePoint provides a number of galleries containing many symbols by default. Additionally, you have the option to add new galleries and remove or modify existing ones. For further information, refer to the Configuring Symbols topic.
Exploring symbol galleries
In the ArcGIS Map Web Part, symbol galleries are made available on the Symbol drop-down and in the Scheme Options dialog. The active location will depend on the type of renderer specified for the selected layer. Steps for accessing the symbols for the different renderer types are provided below:
-
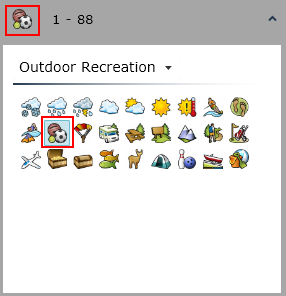
When a single symbol renderer is being used, click the Symbol button on the Symbols tab of the ArcGIS Web Part's ribbon. You will see the symbols in the first symbol gallery displayed. To select a different symbol gallery, expand the drop-down above the symbols:

-
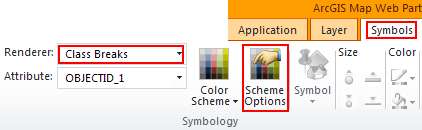
When a class breaks or unique values renderer is being used, the symbols are made available on the Scheme Options dialog:
-
Click the Scheme Options button on the Symbols tab of the ribbon:
-
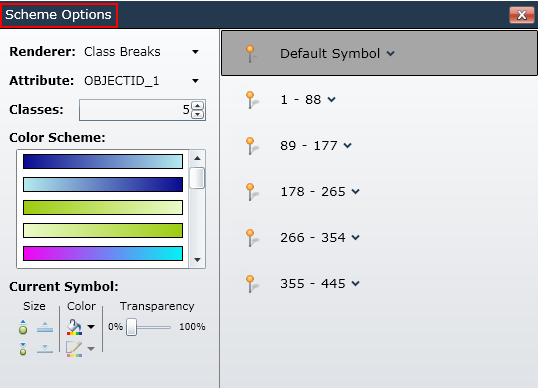
The Scheme Options dialog appears:
-
Click the symbol to the left or the arrow to the right of one of the values of one of the groups:

-
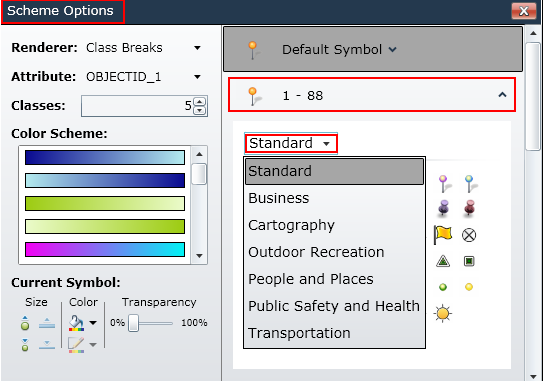
Symbols for the first symbol gallery will be displayed. To view the symbols defined by other symbol galleries, expand the drop-down menu above the symbols:
-
Selecting a symbol
Once you know where to access symbol galleries and symbols, specifying a symbol is straightforward:
-
Select the layer you would like to specify a symbol for from the Map Contents panel.
-
If the layer is rendered using a single symbol, open symbol drop-down from the ribbon. If the layer is rendered using a class breaks or unique values renderer, expand the symbol drop-down for the desired class or value on the Scheme Options dialog. The steps for doing this are described above.
-
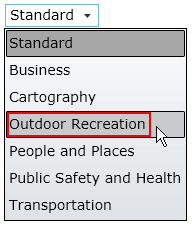
Select the desired symbol gallery:
-
Select the symbol to apply to the layer, class, or value:
-
Once you have selected a symbol, you can use the controls on the ribbon (single symbol renderer) or on the Scheme Options dialog (class breaks or unique value renderers) to modify the symbol. Depending on the symbol type, you can adjust the symbol's size, color, transparency, and line or border thickness.
-
If the layer is rendered using a class breaks or unique value renderer, repeat steps 2-5 for all the class breaks or unique values that you wish to specify.
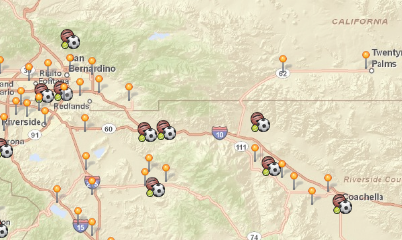
Once you select or modify a symbol, you will see the applicable features on the map updated with the new symbology:
 See Also
Working with layers
Single Symbol Rendering
Class Breaks Rendering
Unique Value Rendering