


Single symbol rendering can be used to symbolize layers of types that allow configuration of symbology. This includes layers from ArcGIS Server Dynamic Map Services, tables from Spatial Data Service endpoints, and SharePoint lists. For more information on the different layer types and their capabilities, refer to the Layer Types topic. Features in layers that have single symbol rendering applied will all be displayed on the map with the same symbol.
Configuring single symbol rendering
The ArcGIS Map Web Part provides a very simple experience for applying a single symbol to a layer. To do so, simply follow the steps below:
-
Select the layer you wish to configure class breaks for in the Map Contents panel. For instructions, see The Map Contents Panel.
-
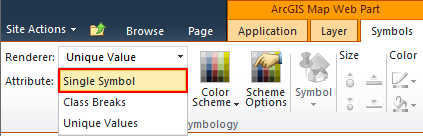
On the Symbols tab of the ribbon, expand the Renderer drop-down menu and select Single Symbol:
-
Now that single symbol rendering has been applied, you can configure it:
-
Selecting a symbol - Click the Symbol drop-down to open the symbol picker:
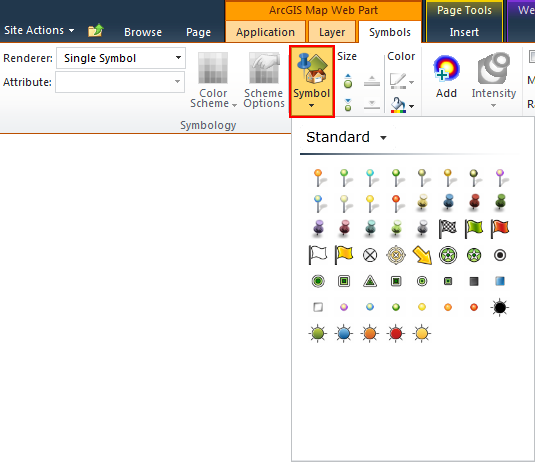
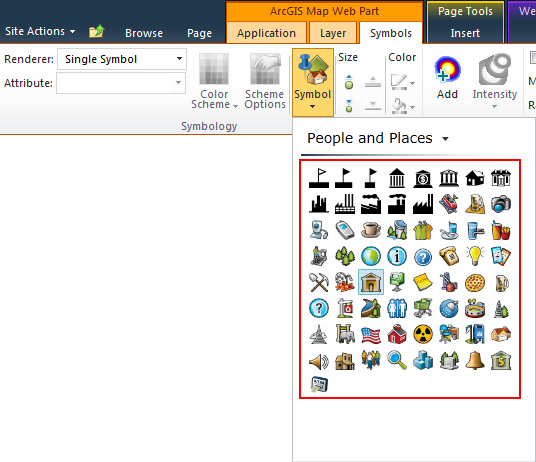
To change the symbol gallery shown, expand the drop-down menu at the top of the symbol picker and select a gallery. For more information about symbol galleries, refer to the Symbol Galleries topic:

To apply a symbol to the layer, select the desired symbol from those shown in the symbol picker:
-
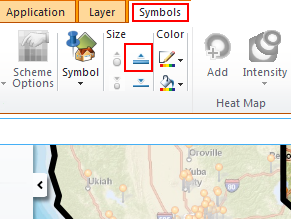
Changing symbol size - the buttons under the Size label on the Symbols tab of the ribbon can be used to change the size of the selected layer's symbol. Which buttons are enabled and the effect of each will vary depending on the geometry type of features in the selected layer. The variations are described below.
-
Points - For layers that contain point features, the size buttons with point icons will be enabled. These can be used to manipulate the size (i.e. width and height) of the point symbol.
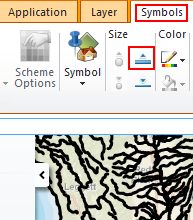
Click the Increase Symbol Size button to increase the size of the symbol:
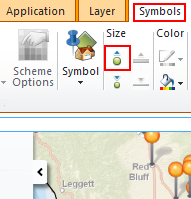
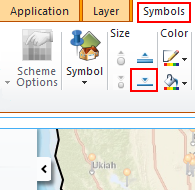
Click the Decrease Symbol Size button to decrease the size of the symbol:

-
Lines - For layers that have linear features, the size buttons with linear icons are enabled. These can be used to manipulate the width of the line symbol.
Click the Increase Symbol Border Width button to increase the width of the line symbol:
Click the Decrease Symbol Border Width button to decrease the width of the line symbol:

-
Polygons - For layers with polygon features, the two size buttons with linear icons are enabled. These can be used to manipulate the border width of the polgyon symbol as follows:
Click the Increase Symbol Border Width button to increase the width of the symbol's borders:
Click the Decrease Symbol Border Width button to decrease the width of the symbol's borders:
-
-
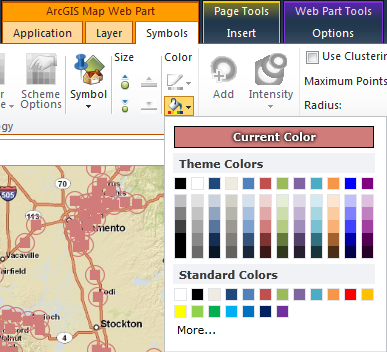
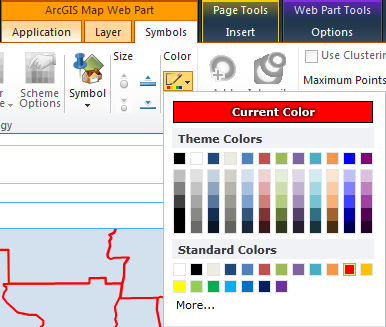
Changing symbol color - The buttons under the Color label on the Symbols tab of the ribbon allow you to specify the color(s) of the selected layer's symbol. Clicking on either of these buttons will open a color picker:
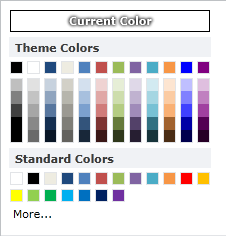
When the color picker is first opened, a color palette is displayed as shown above. The currently selected color is shown at the top of the color palette under the Current Color label. The colors in the Theme section are derived from the theme of the current SharePoint site. To select a color, simply click on the desired color square.
For finer control over the color selection, click the More... label at the bottom of the color picker. An advanced color picker will be shown:
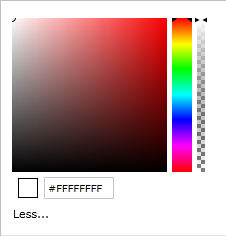
To select a shade of the current hue, click and drag in the large color square. The hexadecimal color code and the small square showing the selected color will update as you drage the mouse.
To change the hue, drag the hue slider. This is the rainbow-colored slider immediately to the right of the large color square.
To change the transparency, drag the transparency slider. This is the slider all the way to the right of the color picker
You also have the option of specifying a color by typing the hexadecimal color code into the textbox at the bottom of the color picker.
Which color buttons are enabled and the effect of each will vary depending on the geometry type of features in the selected layer. The variations are described below.
-
Points - For layers that contain point features, the color button with a paint bucket icon will be enabled if the layer's symbol supports specification of color. Color cannot be specified, for instance, for image-based symbols. If this button is enabled, you can use it to manipulate the color of the point symbol:
-
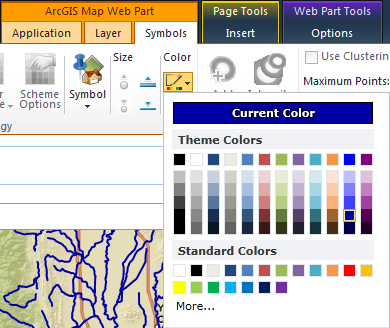
Lines - For layers that have linear features, the color button with with a pencil and line icon will be enabled. Colors selected from this color picker will determine the color of the line symbol:
-
Polygons - For layers with polygon features, both color buttons will be enabled. Use the bottom button to set the polygon symbol's fill color:
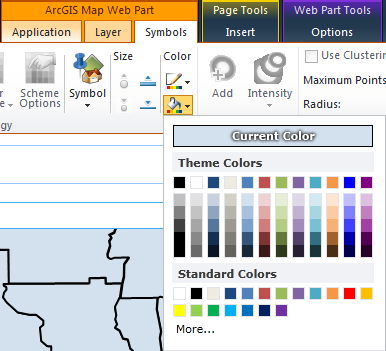
Use the top button to set the polygon symbol's border color:
-
-
 See Also
Working with layers
About Symbols