


ArcGIS Mapping for SharePoint comes with a document library, ArcGIS Mapping Symbols, that is used to populate the Map Web Part's Symbol Gallery. This library consists of XAML resource dictionaries, each of which defines a set of symbols. You have the ability to edit, add, and remove documents in this library.
 ArcGIS Mapping Symbols content types
The ArcGIS Mapping Symbols library supports two content types:
-
Symbols Document - This content type is for actual XAML resource dictionaries. When a XAML file is stored within the document library, this content type is used.
-
Link to Symbols Document - This content type is for linking to XAML files that are hosted outside of the document library. This type is convenient for sharing one symbols resource dictionary across multiple site collections.
Navigating to the ArcGIS Mapping Symbols document library
Like the other ArcGIS Mapping for SharePoint configuration lists and libraries, you can easily navigate to the ArcGIS Mapping Symbols library using the ArcGIS Mapping Administration links on the Site Settings page:
-
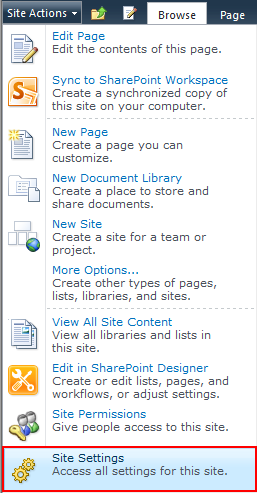
Navigate to the Site Settings page by opening the Site Actions menu and selecting Site Settings:
-
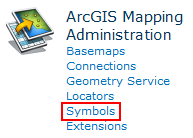
Under the ArcGIS Mapping Administration heading, click Symbols:
Adding a symbols resource dictionary
-
Using the text or XAML editor of your choice, create a resource dictionary.
-
In the ArcGIS Mapping Symbols document library, click Add new item:

-
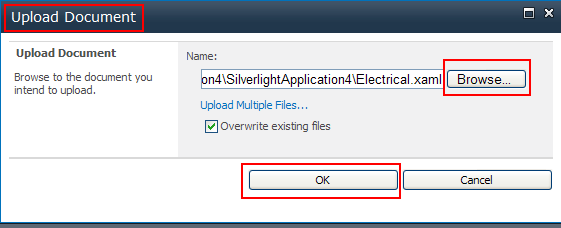
The Upload Document dialog appears. In the dialog, click the Browse button to locate and select the new resource dictionary. Then click OK:
 .
. -
In the properties dialog, select the Content Type, enter the Display Name, and select the Geometry Type from the radio buttons. Click Save when you have finished:

-
The new document is added to the ArcGIS Mapping Symbols library:

-
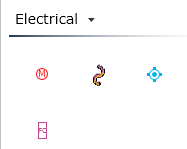
Now, when using ArcGIS Map Web Parts that are within the same site collection, the new symbol gallery is available to use for symbolizing layers:

 NOTE
NOTEFor more information on using Symbol Galleries, refer to Symbol Galleries.
Adding a link to a symbols resource dictionary
-
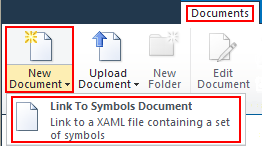
After navigating to the ArcGIS Mapping Symbols library, select the Documents tab. Then click expand the menu below the New Document button. From the menu, select Link to Symbols Document:
-
The Document Link page appears. Enter a name and the URL to the symbols resource dictionary. When you have finished, click OK:

-
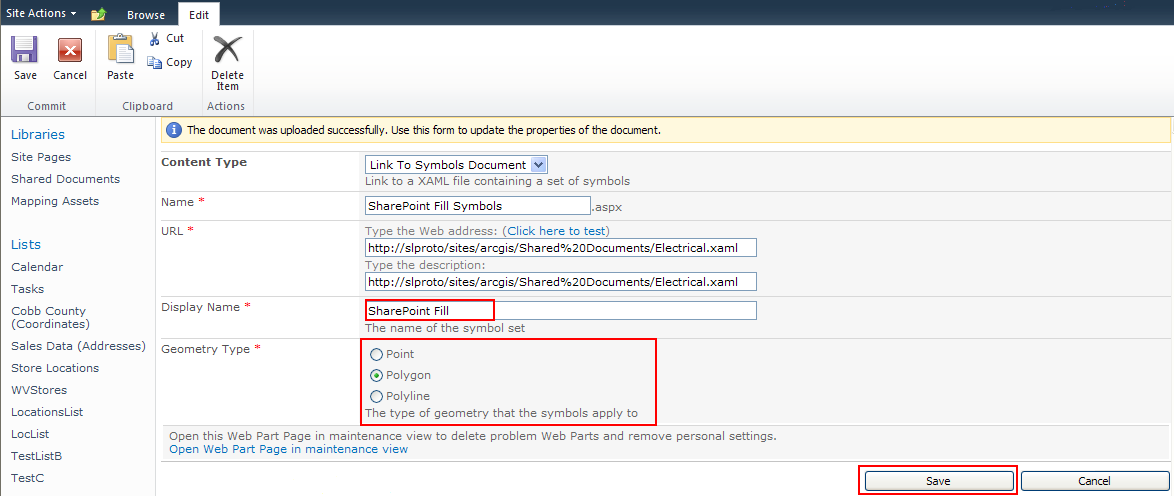
The Edit form appears. Specify the Display Name and select the correct geometry type. Then, click Save:
-
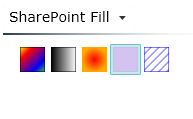
The link is added to the ArcGIS Mapping Symbols library:

-
Now, when using ArcGIS Map Web Parts that are within the same site collection, the linked resource dictionary is available to use for symbolizing layers:

Remove a Symbols Document or Link to Symbols Document
-
Once you have navigated to the ArcGIS Mapping Symbols library, select the document to be removed by clicking the checkbox next to its name. Then click Delete Document on the Documents tab of the ribbon:

-
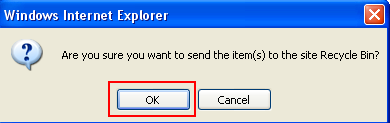
A confirmation dialog appears. Click OK and the file or link will be removed from the document library. This will remove the resource dictionary from the Symbol Gallery in ArcGIS Map Web Parts that are within the same site collection:
 NOTE
NOTEWhen you have used symbols from the deleted symbol gallery for layers in saved Map Web Parts, they will continue to use those symbols. Different symbols can be specified for these layers by editing the Map Web Part.
Creating a symbols resource dictionary
A the files used by the ArcGIS Map Web Part's Symbol Gallery are simply Silverlight resource dictionaries containing sets of symbols. When you create a resource dictionary for use in the Symbol Gallery, it is important to keep in mind that each resource dictionary can only contain symbology for one geometry type - point, polyline or polygon.
The simplest way to get started is to use one of the out-of-the-box dictionaries as a template. Then you can easily use the namespaces and types included in the out-of-the-box resource dictionary in your custom dictionary.
Begin by creating your dictionary:
-
Point symbols
There are three types of point symbols used in the out-of-the-box point symbol galleries, ImageFillSymbol, PathMarkerSymbol, and MultiplePathMarkerSymbol. PathMarkerSymbol, and MultiplePathMarkerSymbol are rather complex, so a full explanation of those types is outside the scope of this topic. However, you can easily create your own dictionary using ImageFillSymbols. To do so, declare each of your symbols using markup simaler to that shown below. Make sure to include the x:Key, Size, OriginX, OriginY, and Source (location of the image file) attributes:
Point Symbol  Copy Code
<esriMapping:ImageFillSymbol x:Key="BoatsKeepOut" Size="20" OriginX="0.5" OriginY="0.5" Source="http://myserver/sites/arcgis/myfolder/Images/MarkerSymbols/MyGalleryName/MyNewSymbol.png" />
-
Polyline symbols
Line symbols can be specified using the sample below as a guideline. Be sure to include the x:Key, SelectionColor, Color, and Width attributes:
Line Symbol Copy Code<esriMapping:SimpleLineSymbol x:Key="BasicLineSymbol_Black_1" SelectionColor="Cyan" Color="Black" Width="1" />
-
Polygon symbols
Polygon symbols can be specified using the sample below as a guideline. Always be sure to include the x:Name, SelectionColor, Fill, BorderBrush, and BorderThickness attributes:
Polygon Symbol Copy Code<esriMapping:SimpleFillSymbol x:Name="BasicFillSymbol_White_Trans_3" SelectionColor="Cyan" Fill="#99FFFFFF" BorderBrush="Black" BorderThickness="1" />
 See Also
Working with layers
Symbol Galleries
About Symbols