Find Locations
To plot the locations of list items on an ArcGIS Location Map Field, first you need to add a Location Map Field to the list. Then, create a new item or edit an existing item. Once the New Item or Edit Item page loads, do the following:
- If the item's location (address or coordinates) has not been specified, or if you need to change it, type it into the appropriate fields.
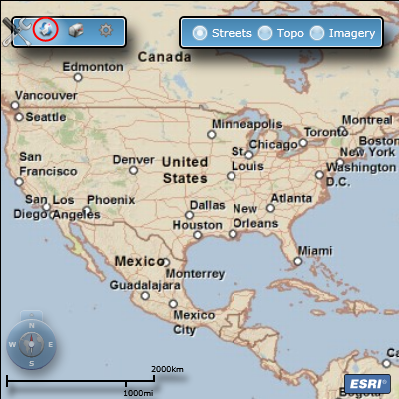
- Click the Find Location button, circled in the image below:
- A message box will appear notifying you that location fields for the list need to be mapped. Click OK.
- The Location Fields dialog will appear. If the list's geographic data is stored in addresses, select the locator service you wish to use and map the list's columns to the locator service's parameters. If the list's geographic data is stored in coordinates, click the Coordinates radio button, then map the columns storing the Latitude (Y) and Longitude (X):
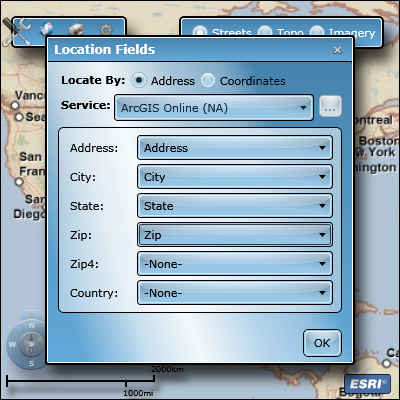
For more information about specifying location fields, refer to the Location Fields topic.
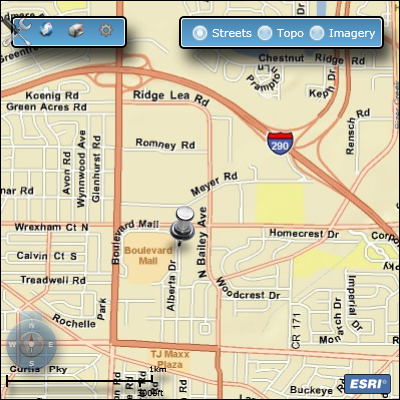
- Once location fields are specified, click OK. The item's location will be retrieved using the specified locator service and it will be plotted on the map:
Tip: The default zoom-level of the Location Map Field may not be ideal for your list. Use the
ESRI List Location Properties list to adjust the zoom-level for a list.
Once these initial steps are complete, all you need to do to plot locations for new list items is type the location data into the appropriate fields and click Find Location. To update the location of existing items, the procedure is the same; modify the location data - address or coordinates - in the appropriate fields, and click Find Location. To view the location of existing list items, no further action is required - when you view or edit the item, the location will be plotted on the map automatically.
